Using Node-Red to send commands to Wifi LED Controllers
After buying a new Raspberry Pi 3, I noticed it came with an interesting app called Node-Red. Already familiar with Node.JS, I thought it was going to be some cheesy simplification that was going to severely limit what it could do for beginners. To my amazement, it wasn’t.
Node-Red is a tool designed for IoT to get you past configuring serial ports and oAuth and into actually using the data your sensors produces. It is a web app that runs on the device through node and from any web browser gives you a quick interface to design the automations you want.
WIFI LED Controllers
I bought my Wifi LED Controller from Amazon for $18 with prime shipping. To be fair, most of the LED controllers out there are really made by a single factory in China (zengge.com), so there isn’t much difference between them. That being said, I ran into issues with older protocols not working on the newer ones. One way you can tell is by the number of channels it supports, if it is RGB only, then it is probably the “2014 protocol”. If it is RGB + WW + CW then it is probably the protocol shown on this blog.
XCSOURCE DC 12-24V iOS Android WIFI Remote 5 Channels Controller for RGB LED Strip LD686 – $18 (PRIME)
Magic House App – http://www.ledmagical.com/Apps/MgcHome/AppDown.aspx
Code
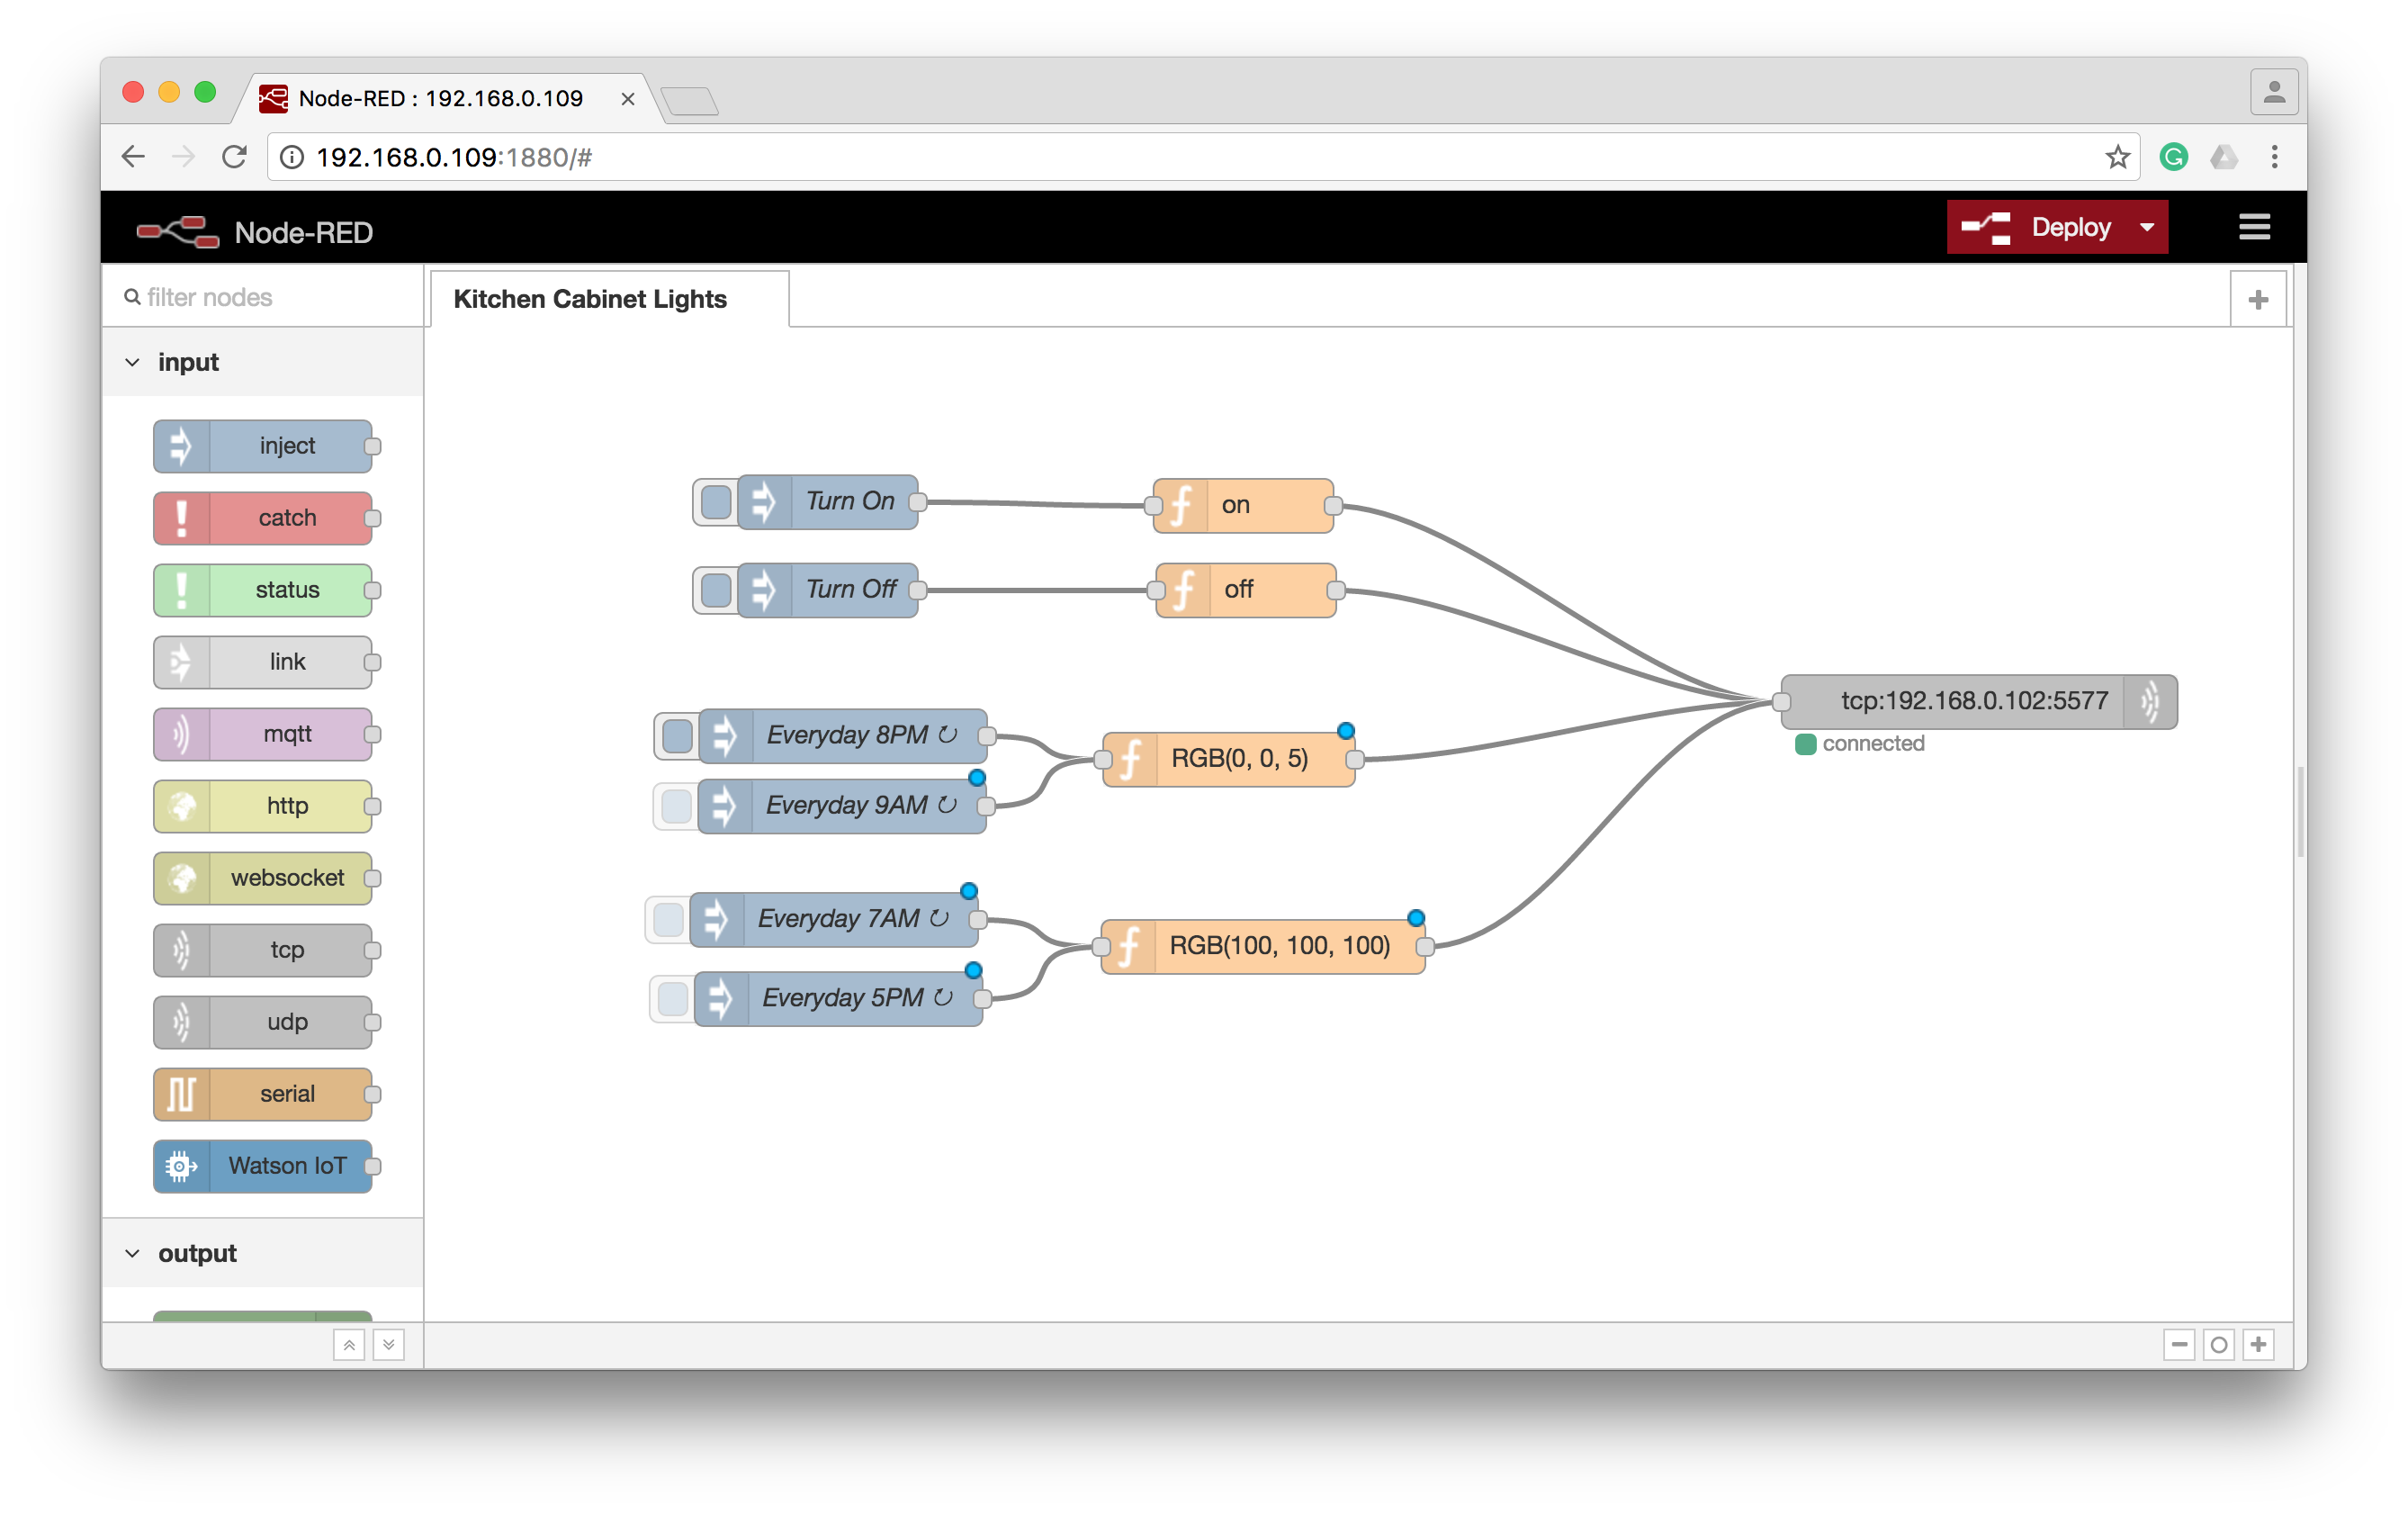
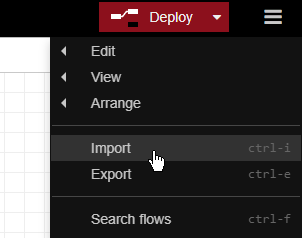
In Node-Red, you can go to the top right settings menu and click Import and then Clipboard.
Paste in the following:
[{"id":"d9ffe9ba.e5dea8","type":"inject","z":"e602a429.19fd58","name":"Turn On","topic":"","payload":"true","payloadType":"bool","repeat":"","crontab":"","once":false,"x":299,"y":97,"wires":[["92d823b8.e9969"]]},{"id":"c678b7b7.ddaa08","type":"tcp out","z":"e602a429.19fd58","host":"192.168.0.102","port":"5577","beserver":"client","base64":false,"end":true,"name":"","x":939,"y":208,"wires":[]},{"id":"92d823b8.e9969","type":"function","z":"e602a429.19fd58","name":"on","func":"msg.payload = new Buffer([0x71,0x23,0x0F,0xA3]);\nreturn msg;","outputs":1,"noerr":0,"x":530,"y":99,"wires":[["c678b7b7.ddaa08"]]},{"id":"64d0bd5a.368424","type":"inject","z":"e602a429.19fd58","name":"Turn [{"id":"4985cc4e.10a454","type":"tab","label":"LED Strips","disabled":false,"info":""},{"id":"d9ffe9ba.e5dea8","type":"inject","z":"4985cc4e.10a454","name":"Turn On","repeat":"","crontab":"","once":false,"topic":"","payload":"true","payloadType":"bool","x":200,"y":120,"wires":[["92d823b8.e9969"]]},{"id":"c678b7b7.ddaa08","type":"tcp out","z":"4985cc4e.10a454","host":"192.168.1.157","port":"5577","beserver":"client","base64":false,"end":true,"name":"","x":840,"y":231,"wires":[]},{"id":"92d823b8.e9969","type":"function","z":"4985cc4e.10a454","name":"on","func":"msg.payload = new Buffer([0x71,0x23,0x0F,0xA3]);\nreturn msg;","outputs":1,"noerr":0,"x":431,"y":122,"wires":[["c678b7b7.ddaa08"]]},{"id":"64d0bd5a.368424","type":"inject","z":"4985cc4e.10a454","name":"Turn Off","repeat":"","crontab":"","once":false,"topic":"","payload":"false","payloadType":"bool","x":200,"y":169,"wires":[["c6e3a3e0.b412a"]]},{"id":"c6e3a3e0.b412a","type":"function","z":"4985cc4e.10a454","name":"off","func":"msg.payload = new Buffer([0x71,0x24,0x0F,0xA4]);\nreturn msg;","outputs":1,"noerr":0,"x":432.5,"y":169,"wires":[["c678b7b7.ddaa08"]]},{"id":"6a8ff1ba.c3d23","type":"function","z":"4985cc4e.10a454","name":"RGB(0, 0, 7)","func":"\nvar red = 0; // out of 255\nvar green = 0; // out of 255\nvar blue = 7; // out of 255\nvar warmWhite = 0; // out of 255, if connected\nvar coolWhite = 0; // out of 255, if connected\n\nfunction calculateChecksum(input){\n var allBitsAddedUp = input.reduce(function (total, num) { return total + num; }, 0);\n var checksum = new Buffer([allBitsAddedUp]);\n return Buffer.concat([input, checksum]);\n}\n\nvar message = new Buffer([0x31,red,green,blue,warmWhite,coolWhite,0xF0,0x0F]);\nmsg.payload = calculateChecksum(message);\n\nreturn msg;","outputs":1,"noerr":0,"initialize":"","finalize":"","libs":[],"x":450,"y":280,"wires":[["c678b7b7.ddaa08"]]},{"id":"fe8375b6.b7a498","type":"inject","z":"4985cc4e.10a454","name":"Everyday 7AM","props":[{"p":"payload"},{"p":"topic","vt":"str"}],"repeat":"","crontab":"00 07 * * *","once":false,"onceDelay":"","topic":"","payload":"false","payloadType":"bool","x":200,"y":320,"wires":[["cf8bb876.357ba8"]]},{"id":"cf8bb876.357ba8","type":"function","z":"4985cc4e.10a454","name":"RGB(100, 100, 100)","func":"\nvar red = 255; // out of 255\nvar green = 255; // out of 255\nvar blue = 255; // out of 255\nvar warmWhite = 0; // out of 255, if connected\nvar coolWhite = 0; // out of 255, if connected\n\nfunction calculateChecksum(input){\n var allBitsAddedUp = input.reduce(function (total, num) { return total + num; }, 0);\n var checksum = new Buffer([allBitsAddedUp]);\n return Buffer.concat([input, checksum]);\n}\n\nvar message = new Buffer([0x31,red,green,blue,warmWhite,coolWhite,0xF0,0x0F]);\nmsg.payload = calculateChecksum(message);\n\nreturn msg;","outputs":1,"noerr":0,"initialize":"","finalize":"","libs":[],"x":480,"y":440,"wires":[["c678b7b7.ddaa08"]]},{"id":"b3fedaec.342ab8","type":"inject","z":"4985cc4e.10a454","name":"Everyday 8PM","props":[{"p":"payload"},{"p":"topic","vt":"str"}],"repeat":"","crontab":"00 20 * * *","once":false,"onceDelay":"","topic":"","payload":"true","payloadType":"bool","x":200,"y":580,"wires":[["6a8ff1ba.c3d23"]]},{"id":"cc5e9938.d64978","type":"inject","z":"4985cc4e.10a454","name":"Everyday 9AM","props":[{"p":"payload"},{"p":"topic","vt":"str"}],"repeat":"","crontab":"00 09 * * *","once":false,"onceDelay":"","topic":"","payload":"true","payloadType":"bool","x":200,"y":380,"wires":[["6a8ff1ba.c3d23"]]},{"id":"7f9300a3.50f15","type":"inject","z":"4985cc4e.10a454","name":"Everyday 5PM","props":[{"p":"payload"},{"p":"topic","vt":"str"}],"repeat":"","crontab":"00 17 * * *","once":false,"onceDelay":"","topic":"","payload":"false","payloadType":"bool","x":200,"y":520,"wires":[["cf8bb876.357ba8"]]}]
You will need to update the IP address of the unit to match your wifi controller but beyond that, you should be able to start clicking on inject buttons and seeing the lights react.
(I’m running my app on a Raspberry Pi that is in UTC timezone, so all the hours are slightly shifted +5, incase you are wondering why 7AM is entered as 12:00)
Commands
All commands are sent at a TCP packet to port 5577, you need no handshake or authorization to do this.
<command group> …modifiers… <checksum>
Power On = 0x71 0x23 0x0F 0xA4
Power Off = 0x71 0x24 0x0F 0xA3
Set Color = 0x31 RED GREEN BLUE WW CW TRUE FALSE CHECKSUM
Set Blue 7% = 0x31 0x00 0x00 0x07 0x0 0x0 0xFO 0xOF 0x37
Checksum is calculated by adding up all the bits then AND masking it with 0xFF
Node-Red Function to set color/brightness
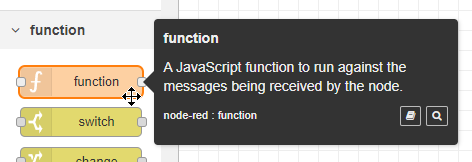
To generate custom color/brightness values, you can create a new function block in Node-Red and paste in the code below.
var red = 0; // out of 255
var green = 255; // out of 255
var blue = 255; // out of 255
var warmWhite = 0; // out of 255, if connected
var coolWhite = 0; // out of 255, if connected

function calculateChecksum(input){
var allBitsAddedUp = input.reduce(function (total, num) { return total + num; }, 0);
var checksum = new Buffer([allBitsAddedUp]);
return Buffer.concat([input, checksum]);
}

var message = new Buffer([0x31,red,green,blue,warmWhite,coolWhite,0xF0,0x0F]);
msg.payload = calculateChecksum(message);

return msg;
Command Groups
SetColor = 0x31
SetMode = 0x61
SetPower  = 0x71
Constants
TRUE = 0xF0
FALSE = 0x0F
ON = 0x23
OFF = 0x24


Thanks a lot for the tutorial!
Can you help me with the checksum thing?
I’m not that familiar with programming, How do I calculate the checksum?
For the start I’m trying to get a function that calculates the checksum for me, later I want to use the note-red-dashboard UI with colorpicker and so on.
I don’t know how to calculate the checksum. Can you help me?
data = [];
data[0] = 0x31; //Mode
data[1] = 0x00; //RED
data[2] = 0x00; //Green
data[3] = 0x07; //Blue
data[4] = 0x00; //WW
data[5] = 0x00; //VW
data[6] = 0xF0; //True
data[7] = 0x0F; //False
var x = checksum(data);
function checksum() {
return 0x37; //calculate checksum here
}
data[8] = x; //Checksum
msg.payload = new Buffer(data);
return msg
Hi Proto,
To calculate the checksum, you add each position and then cut off anything higher than 0xFF.
function checksum(input){
value = 0
for (i in input) {
value = value + input[i];
}
return value & 0xFF;
}
Thx 🙂
btw is it correct that this message form for the comments has no send button visible?
Great write-up, Steve. I’d like to add what i’ve found as i implemented this through Node-Red as well.
If you have an RGBW strip, the 5th and 6th index of the buffer is for whether to ignore or include the RGB or WHITE values respectively.
Here is my code for using a dimmer HomeKit accessory to control them. Notice, since JavaScript considers all numbers to be decimals when it compiles, there is no need to convert any decimal to HEX.
//Changing WHITE and leave RGB values as is on the controller
var percent = msg.payload.TargetPosition; //Get the value (0-100) from the HomeKit dimmer accessory.
var hex = (percent / 100) * 255; //Convert to a percentage of 255 for PWM.
var command = 0x31;
var _true = 0xF0;
var _false = 0x0F;
var checksum = command + hex + _true + _false & 255; //Add all values together to calculate checksum.
msg.payload = new Buffer([0x31,0x00,0x00,0x00,hex,0x00,_false,_true,checksum]);
return msg;
//Change RGB values and leave WHITE as is
var percent = msg.payload.TargetPosition;
var hex = (percent / 100) * 255;
global.set(‘red’,hex); //Use the global context to store each RGB value to be used across each R,G, and BLUE nodes.
var red = global.get(‘red’)||0;
var green = global.get(‘green’)||0; //Get the current set value of the GREEN dimmer or ‘0’ if null.
var blue = global.get(‘blue’)||0;
var command = 0x31;
var _true = 0xF0;
var _false = 0x0F;
var checksum = command + red + green + blue + _true + _false & 255;
msg.payload = new Buffer([0x31,red,green,blue,0x00,0x00,_true,_false,checksum]);
return msg;
Very interesting read guys. As a total novice ( by the way 🙂 ), i have also been playing around with node red and mqtt dash. i had to tweak the code a little to get it to play nicely ( hours of googling) so i have pasted the function code that i used below.
[{“id”:”d084452c.a73b38″,”type”:”function”,”z”:”83fabd04.796e”,”name”:”RGB “,”func”:”var redhex = msg.payload.substr(1,2);\nvar greenhex = msg.payload.substr(3,2);\nvar bluehex = msg.payload.substr(5,2);\nvar red = parseInt(redhex ,16);\nvar blue = parseInt (bluehex ,16);\nvar green = parseInt (greenhex ,16);\nvar command = 0x31;\nvar _true = 0xF0;\nvar _false = 0x0F;\nvar checksum = (command + red + green + blue + _true + _false) &255;\nmsg.payload = new Buffer([command,red,green,blue,0x00,0x00,_true,_false,checksum]);\nreturn msg;”,”outputs”:”1″,”noerr”:0,”x”:410,”y”:3340,”wires”:[[“8d7d1c4b.e6d8f”]]}]
first time pasting so i hope you are able to use it…..
the problem i faced was getting the checksum to add all the numbers, as some were hex direct from mqtt , i had to convert to integer…
next challenge , trying to tie in the whites ……
Hi.
Thanks very much for this. I’m all set up in node red and can use your flow to turn my LEDs on and off.
That bit works fine.
However, the flow I copied from you for injecting a different colour just won’t work. Nothing changes. I’ve also tried to simplify one of the functions added above to try and troubleshoot but that doesn’t work either.
Here it is:
//
var command = 0x31;
var _true = 0xF0;
var _false = 0x0F;
var ww = 0x0;
var cw = 0x0;
var red = 0x0;
var green = 0x0;
var blue = 0x64;
var command = 0x31;
var _true = 0xF0;
var _false = 0x0F;
var checksum = command + red + green + blue + ww + cw + _true + _false & 0xff;
msg.payload = new Buffer([command,red,green,blue,ww,cw,_true,_false,checksum]);
return msg;
//
I was hoping that if I could get this function to work I could then start injecting different values etc.
When I inject the above it looks OK. The debug node shows this:
[49,0,0,100,0,0,240,15,148]
buffer[9]raw
0: 0x31
1: 0x0
2: 0x0
3: 0x64
4: 0x0
5: 0x0
6: 0xf0
7: 0xf
8: 0x94
Any pointers would be greatly received as I’d like to ultimately inject a slightly different warmth / coolness based on the temperature of the house, or other notifications.
Thanks, Don