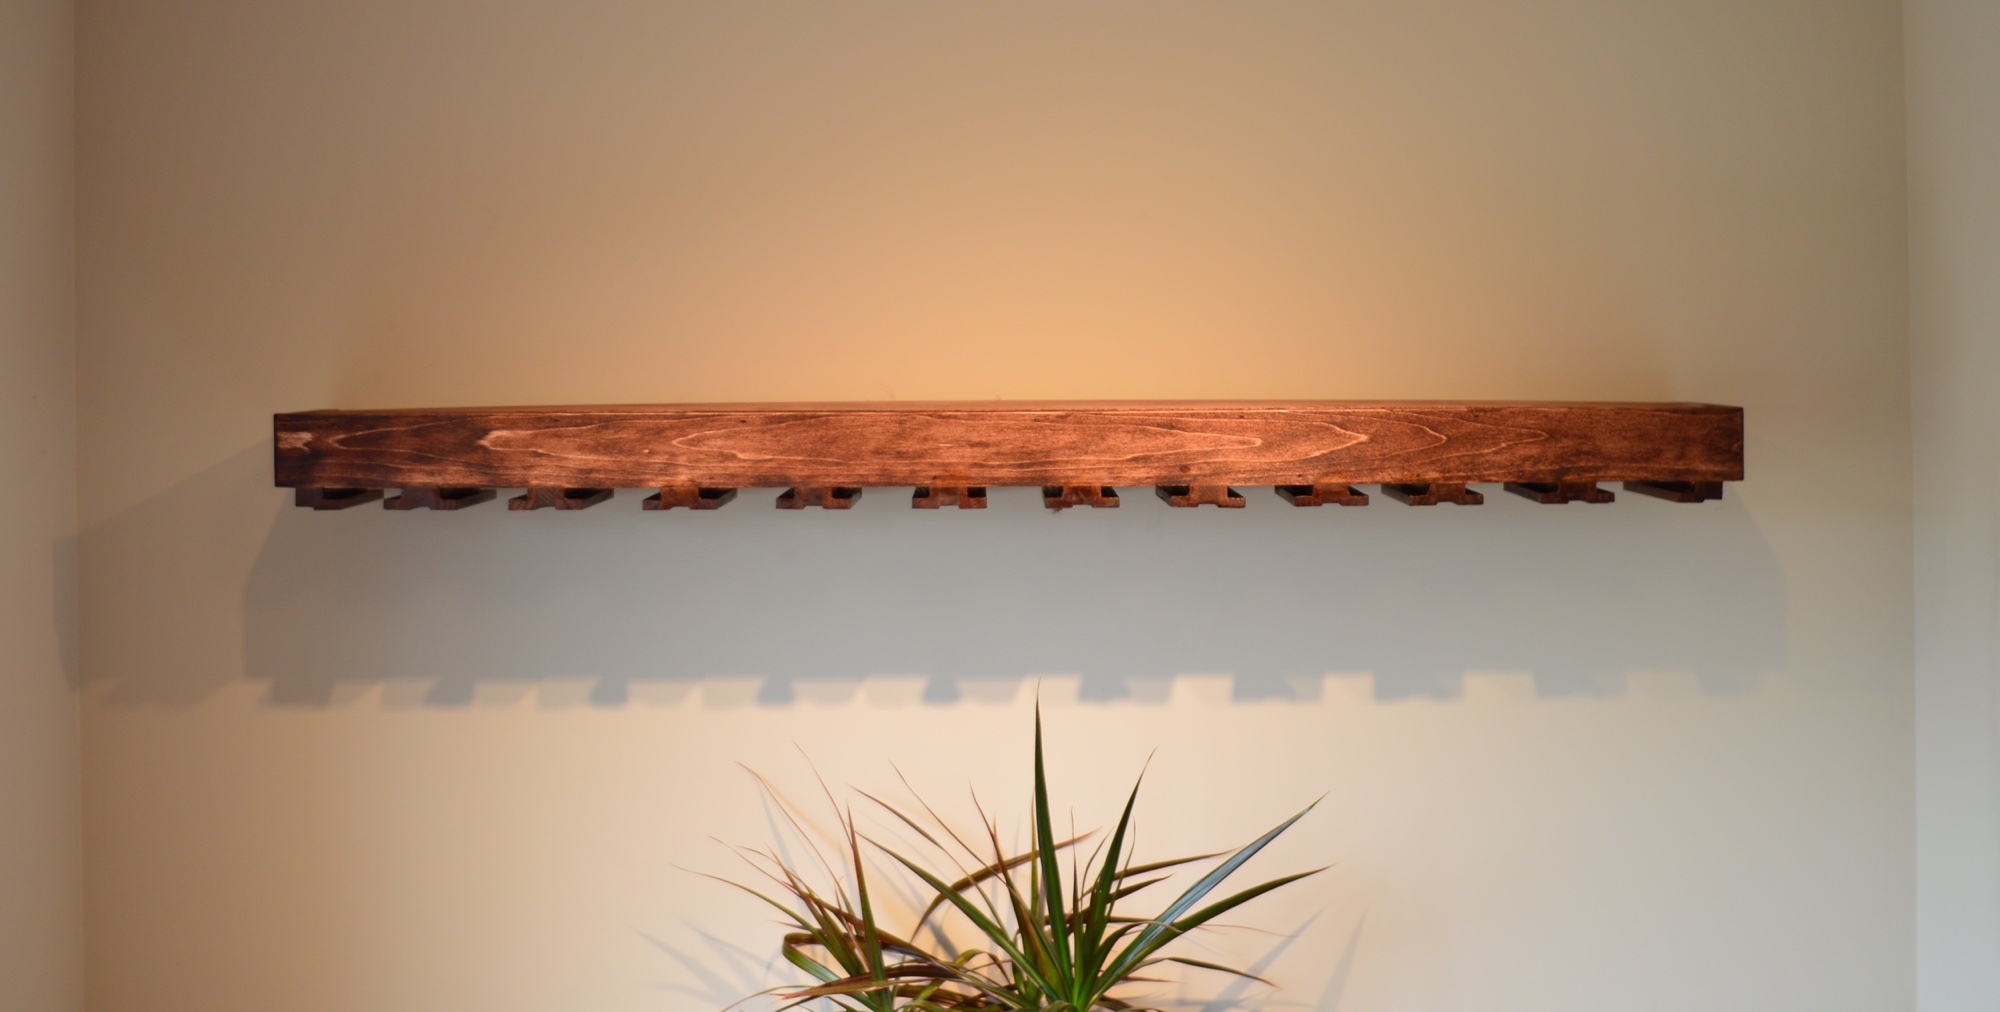
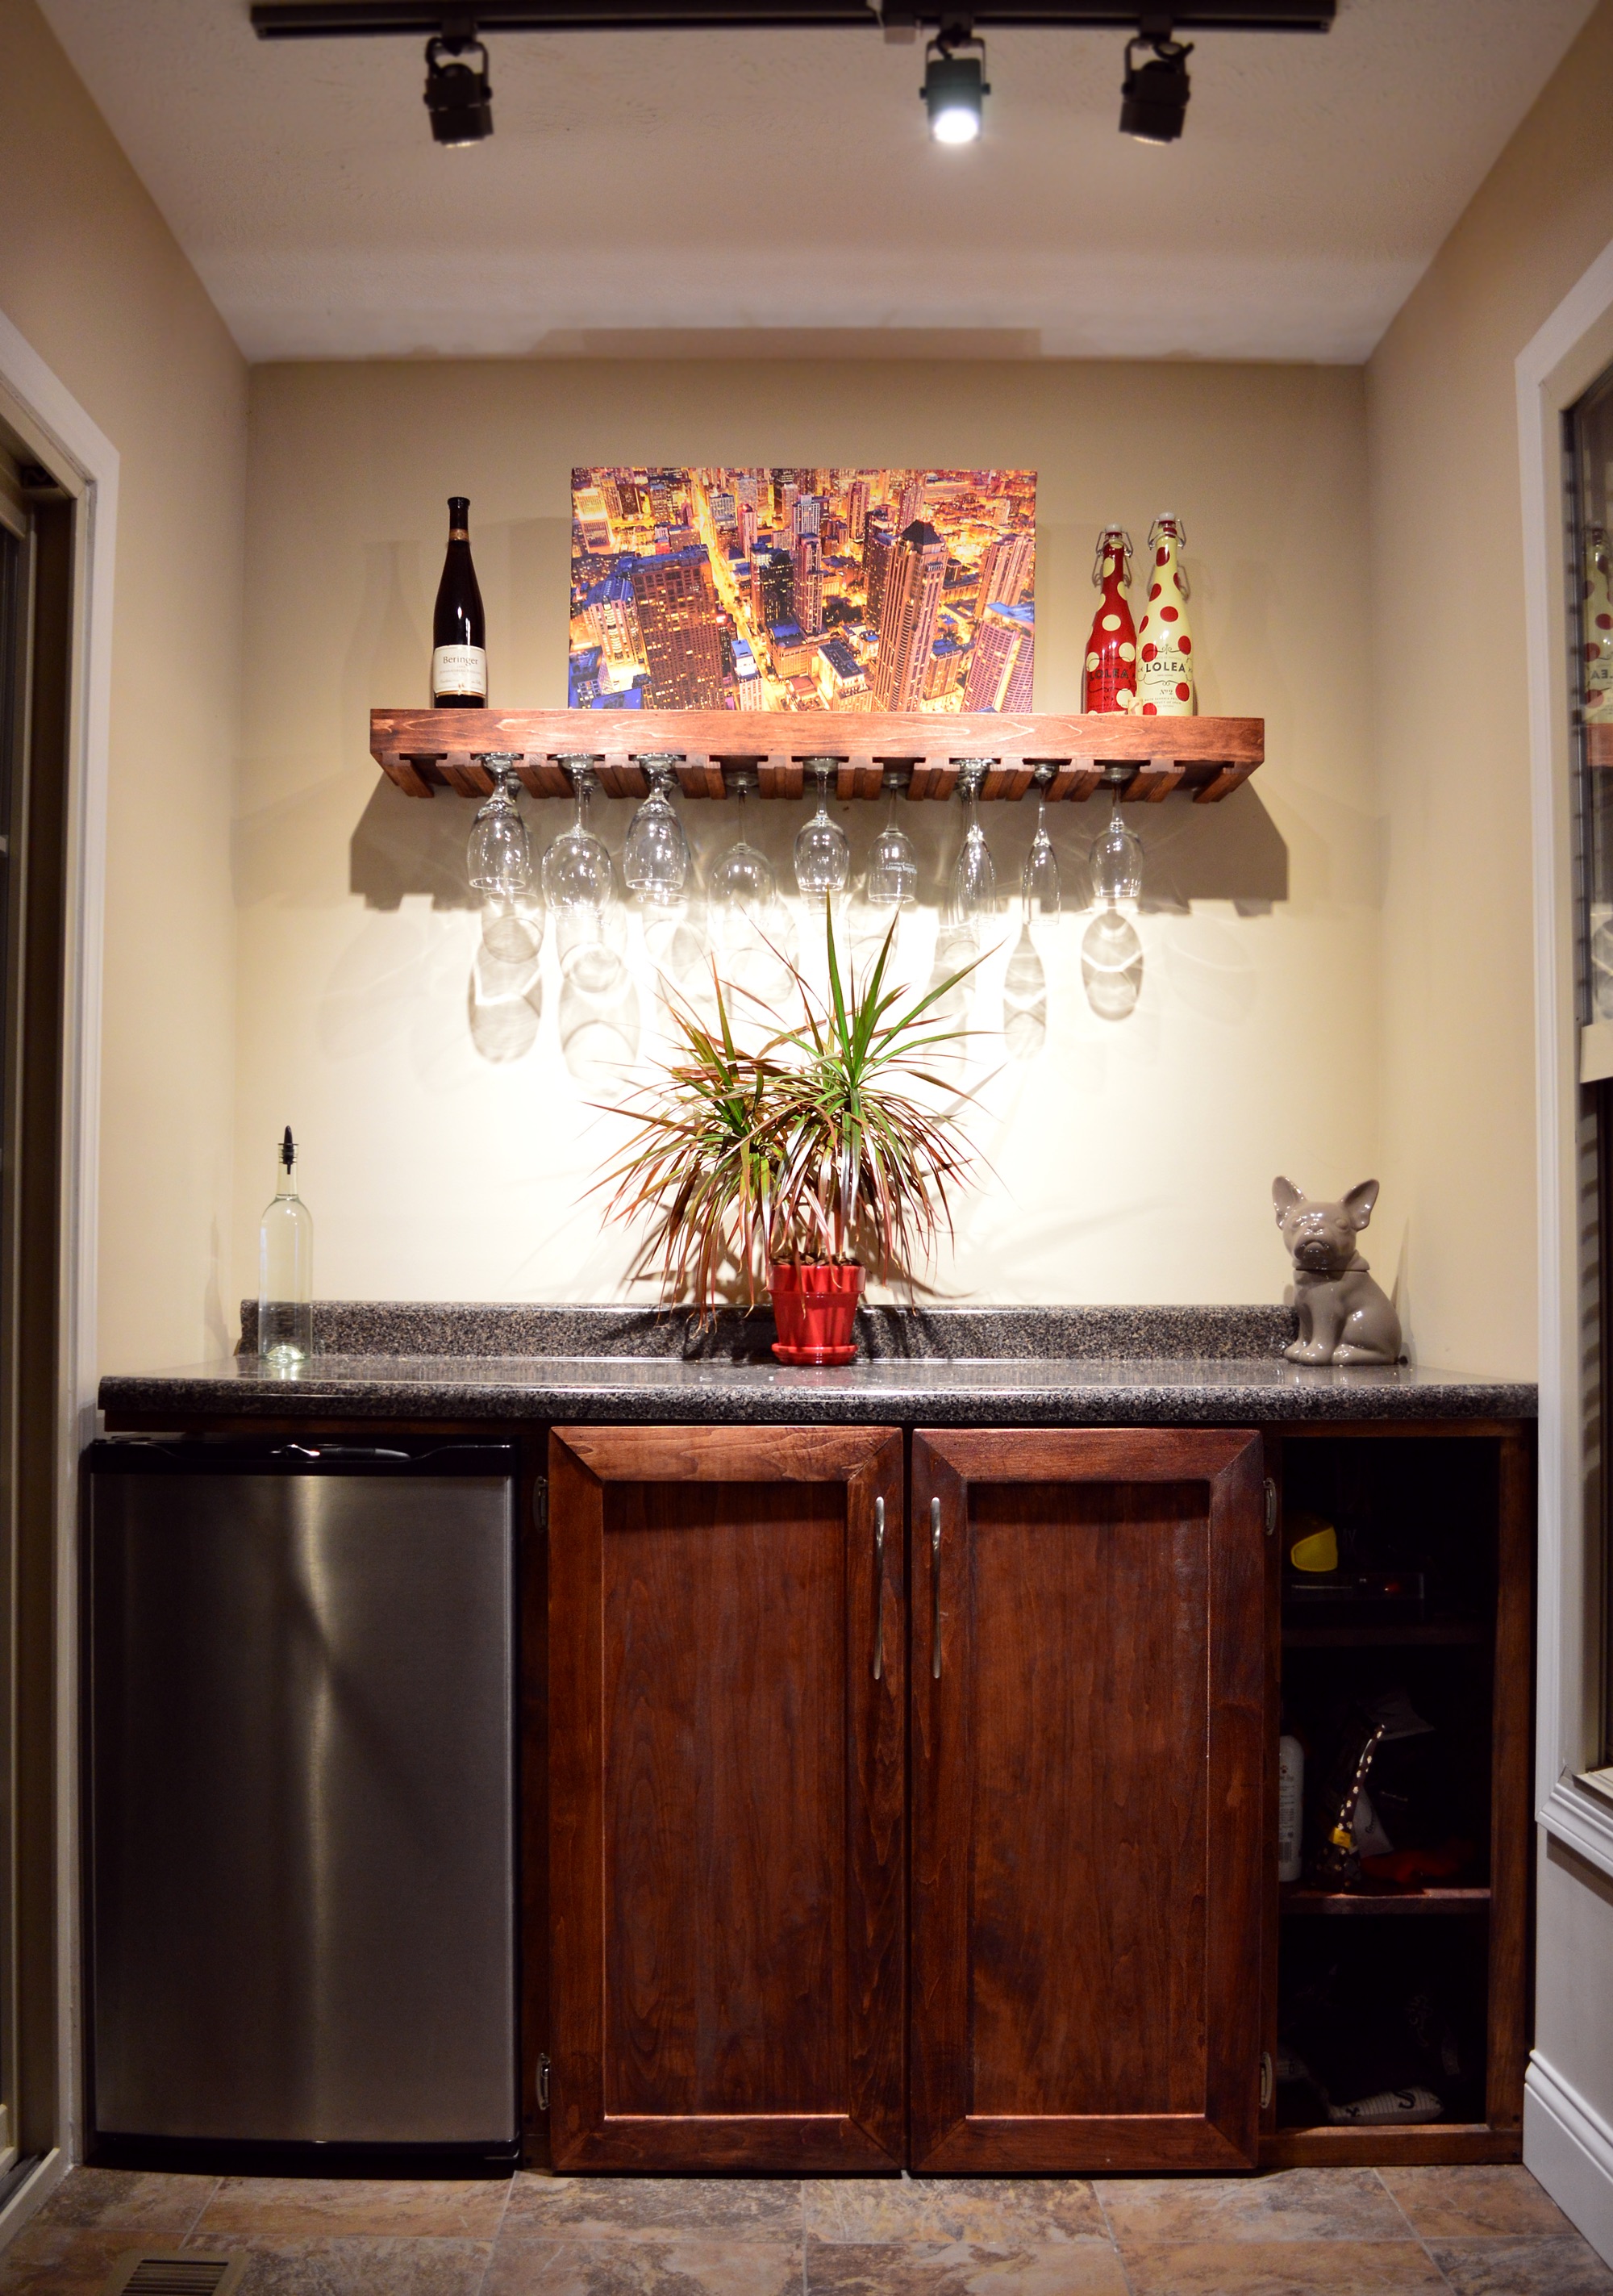
Building Floating Shelf with Wine Glass Rack
After looking at a few different stores, I was very disappointed with the sizing selection of floating shelf and that most wine glass brackets are too long to install under anything but cabinets. So I set off to build my own.
The Design
Floating shelves are purposely designed to be thick as a way to hide the standard L brackets that normal shelves use to support their loads. By getting rid of the bracket, it looks like nothing holds up the shelf but really the shelf is two parts – a skeleton that mounts to the wall and a hollow shelf that slides over it. A floating shelf due to physics will never be able to hold as much weight as standard L bracket shelf but they still can hold quite a bit.
What you need to buy:
1×2-4′ Clear Aspen Board $2.99ea (need 2)
1×3-6′ Clear Aspen Board $5.69 (need 1)
0.5×8-4′ Clear Aspen Board $9.87ea (need 2)
3/4″ x 3/4″ x 2′ square Poplar wood $0.99ea (need 3)
3/4″ x 3/4″ x 8′ Oak Outside Corner Moulding $5.33ea (need 1)
Total $39
Other items you will need a small amount of and might already have laying around:
#10×2″ Zinc Wood Screw (as long and thick as you can find to improve weight support), can of Wood Conditioner, can of Stain, and can of Polyetherthane
The Skeleton Mount
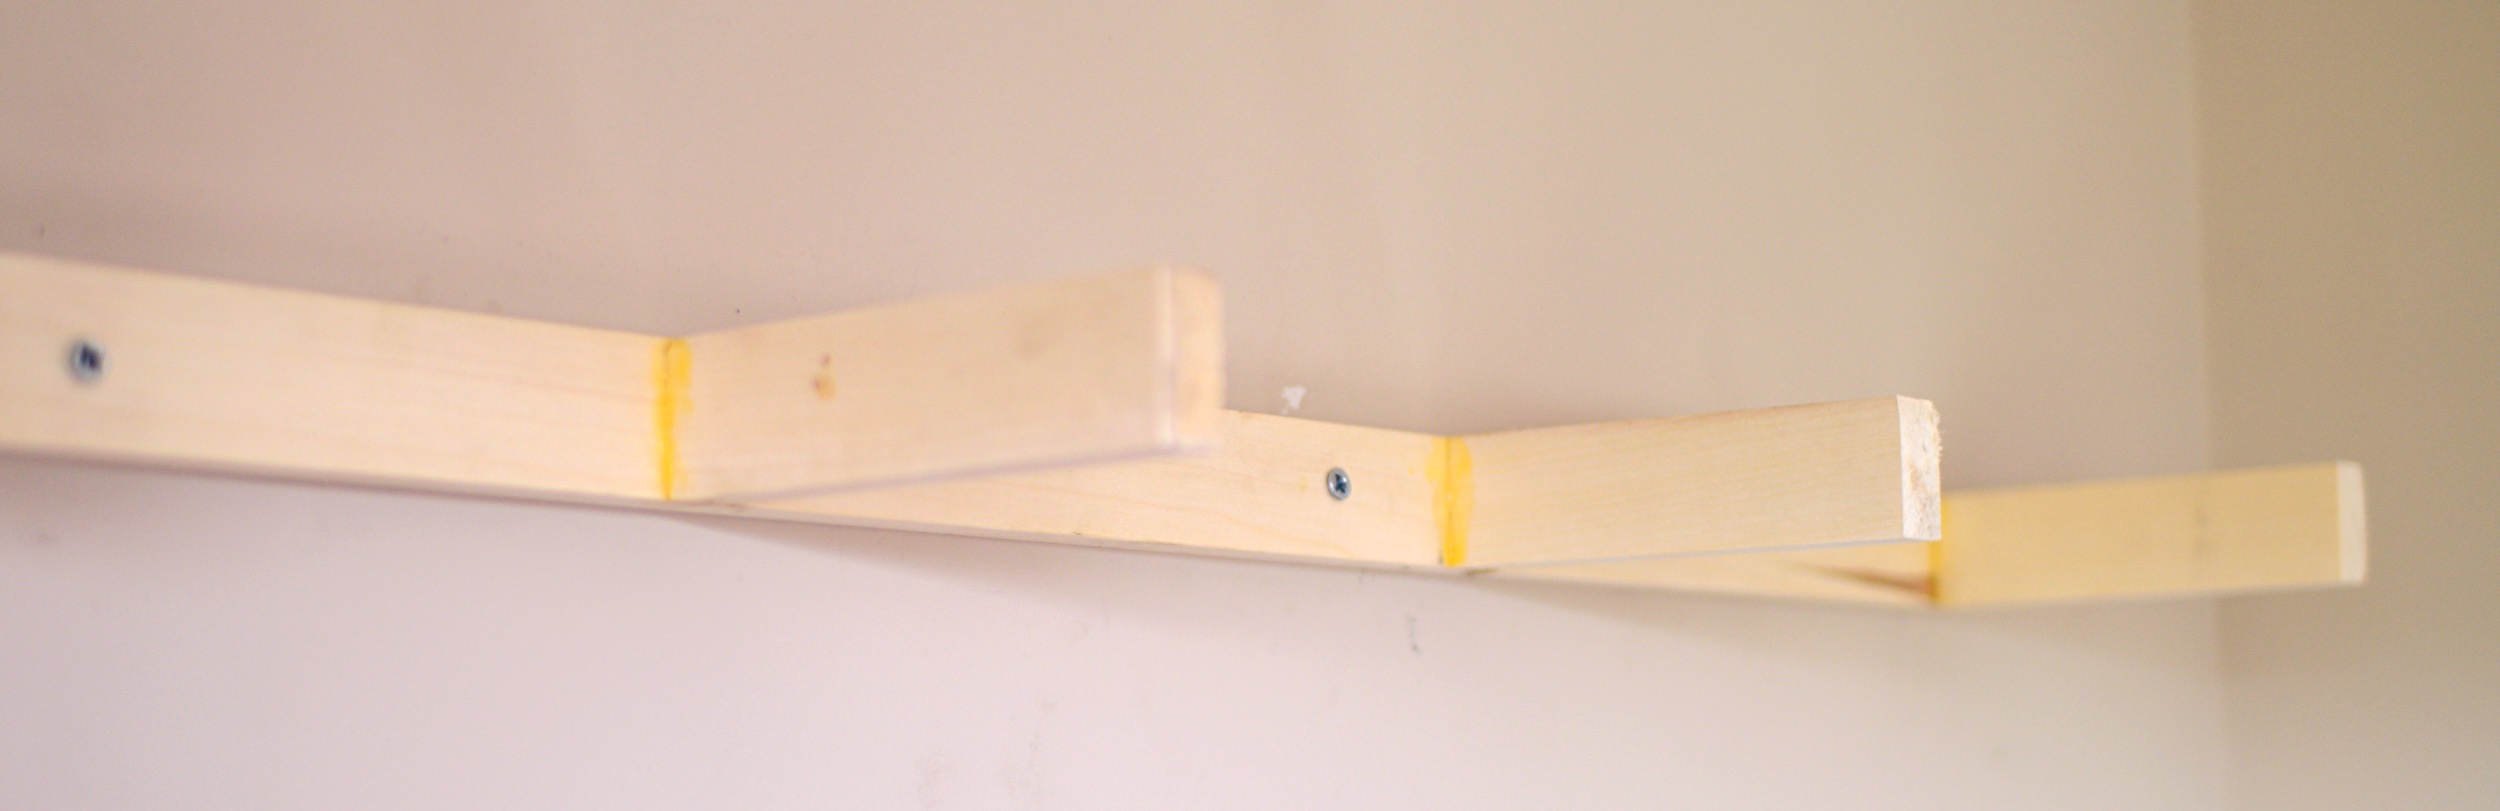
Using two 4ft x 2in x 1in pieces of aspen wood (easily available at home improvement stores for around $2.99 each). While the shelf is going to be 1ft in depth, I cut the skeleton bones to be 8 inches long and places 5 bones across the 4 foot baseboard.
To join the 8 inch bones to the baseboard I used wood glue (the yellow stuff in the above picture) and 2″ headless nails. I placed them in a 90-degree clamp to make sure they are aligned and shot a few nails into it to hold the bone until the glue dries. Then used a #10 x 2inch wood screw to give add tension. This bond is very critical to the shelf being able to hold weight.
"SIDENOTE
Now, I hate mounting anything on the wall. Drywall screws are destructive if you ever want to move it. Stud detectors are terrible and randomly but very loudly beep at you.
Until I found this Franklin Sensor ProSensor 710 that actually works and it makes no noise. It has a series of LEDs on the top and you can place it anywhere on a wall and it will light up where the studs are. Normally stud detectors are very sensitive and if you happen to start it on a stud, it just chirps randomly. This one doesn’t care. It has sensors along the whole body and it will calibrate itself. Seriously, throw away any stud detector you have and get this one. Why anyone even makes the other style is beyond me. (Amazon price isn’t great, its about $20 over, I got mine at Menards for $33)."
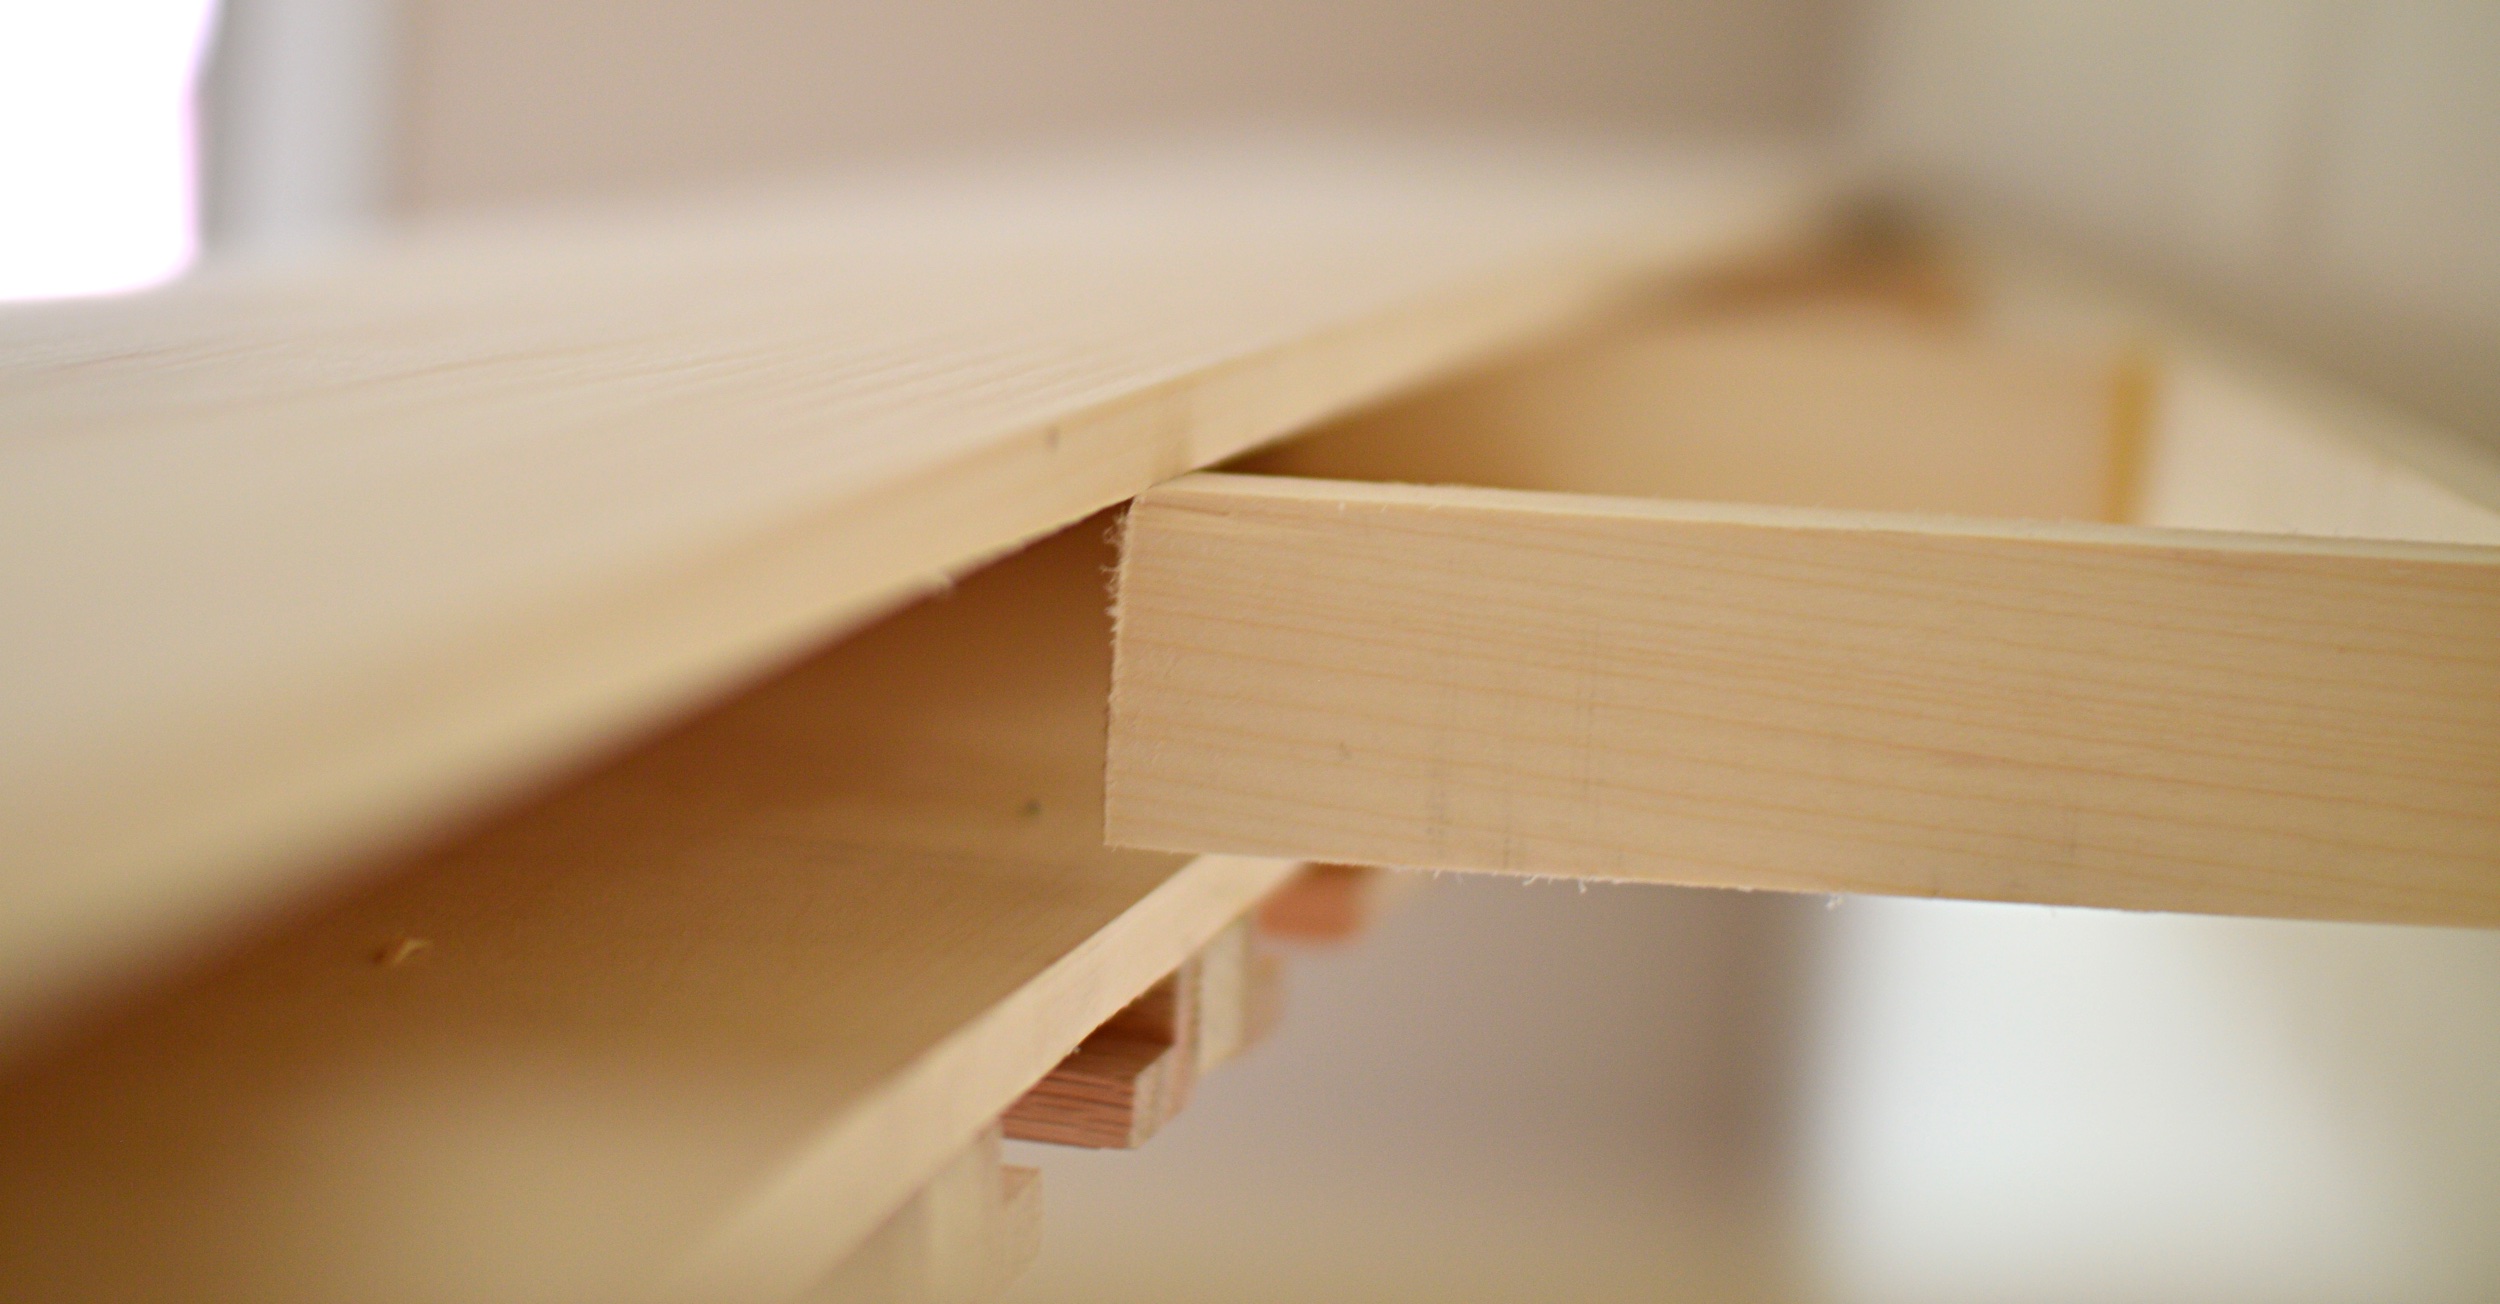
The Hollow Shelf
I purposely wanted a 4 foot wide shelf to allow minimal cutting of the boards. The 0.5x8x4ft boards will be wrapped by the 1×3 boards acting as trim.
First, take your 1x3x6′ board and cut a 45-degree angle on the edge. Then measure exactly the size of the 1/2x8x4′ board and cut the other 45-degree angle on the other side. During my build, I still messed up the 45-degree cut and had to cut my 4ft 1/2 sheets to match. Save yourself a lot of fixing up time and get this cut perfect.
During the build process, you will probably run into an issue with 0.5x8x4ft boards warping. Some reason the way most stores store these boards, you can tell how long it’s been there by how bent it is. Anytime you are dealing with warp boards the best solution is to use 2 that can bow opposite of each other to straighten themselves out.
I used a 90-degree miter clamp to cut and glue the side 1x3x8 pieces. If your 45-degree cuts are off, it will be noticeable when you place the 0.5x8x4ft centerboards. But don’t worry, we can force it to sit correctly with nails. I recommend clamping one side and getting the board flush with the trim piece. Then go to the other side and do the same thing. Only after flipping over the board to check should you go forward and place a nail about every 2 inches along the entire path. If the middle is warping, use more clamps and force it flush. You can sand a little of this out but it’s best to get it as close as you can.
To attach the bottom of the hollow shelf, use spare 1×2 boards to act as separators. Again, use clamps to force the board as flush as you can get them. Then sand it until it is smooth.
Hanging on the Wall
One of the best parts of a floating shelf is its ease to install on the wall. With the skeleton frame already on the wall, all you really have to do is slide the hollow shelf over the bones. Due to gravity and friction, you really don’t even have to nail or screw the shelf in place.
Creating Wine Glass Brackets
You have a few options
- Buy premade ones, but only if the size works for the shelf that you have and they are pretty pricey
- Use a block of wood (like a 1×3) that you can router out a groove to hold the glasses
- Use premade trim that just need to be nailed/glued together.
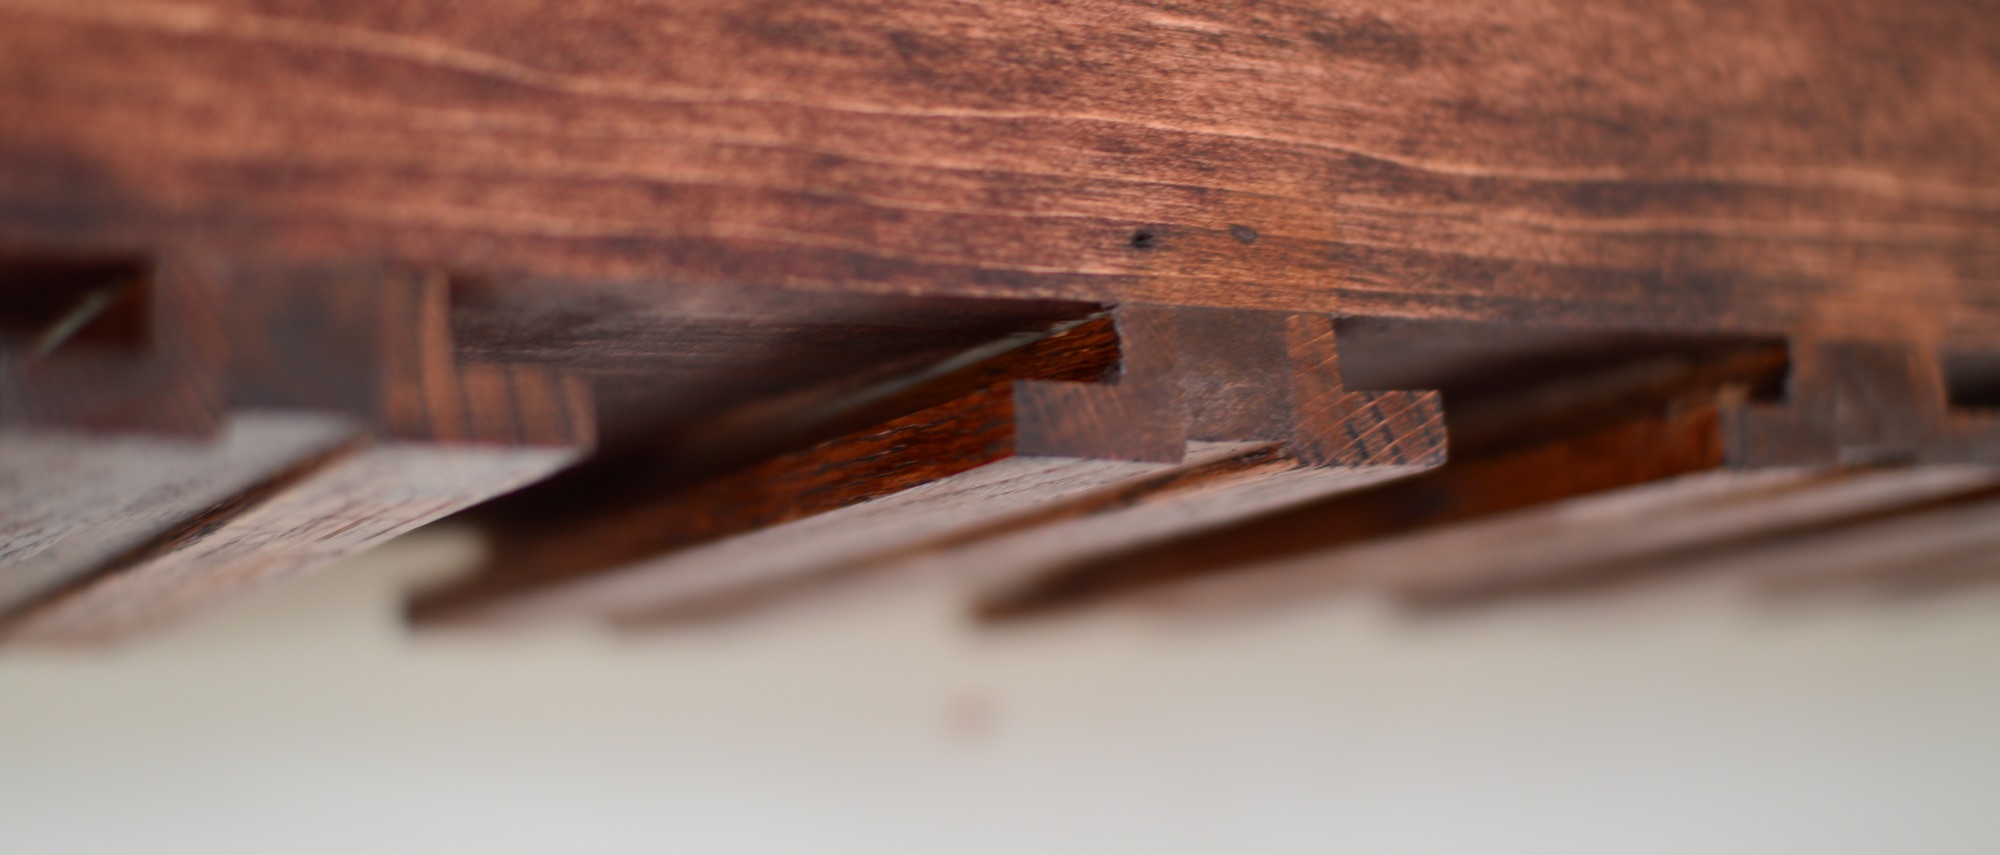
I went with the third option. I used a piece of 3/4″ square poplar wood, and attached a piece of 90-degree red oak trim on either side driving nails through.
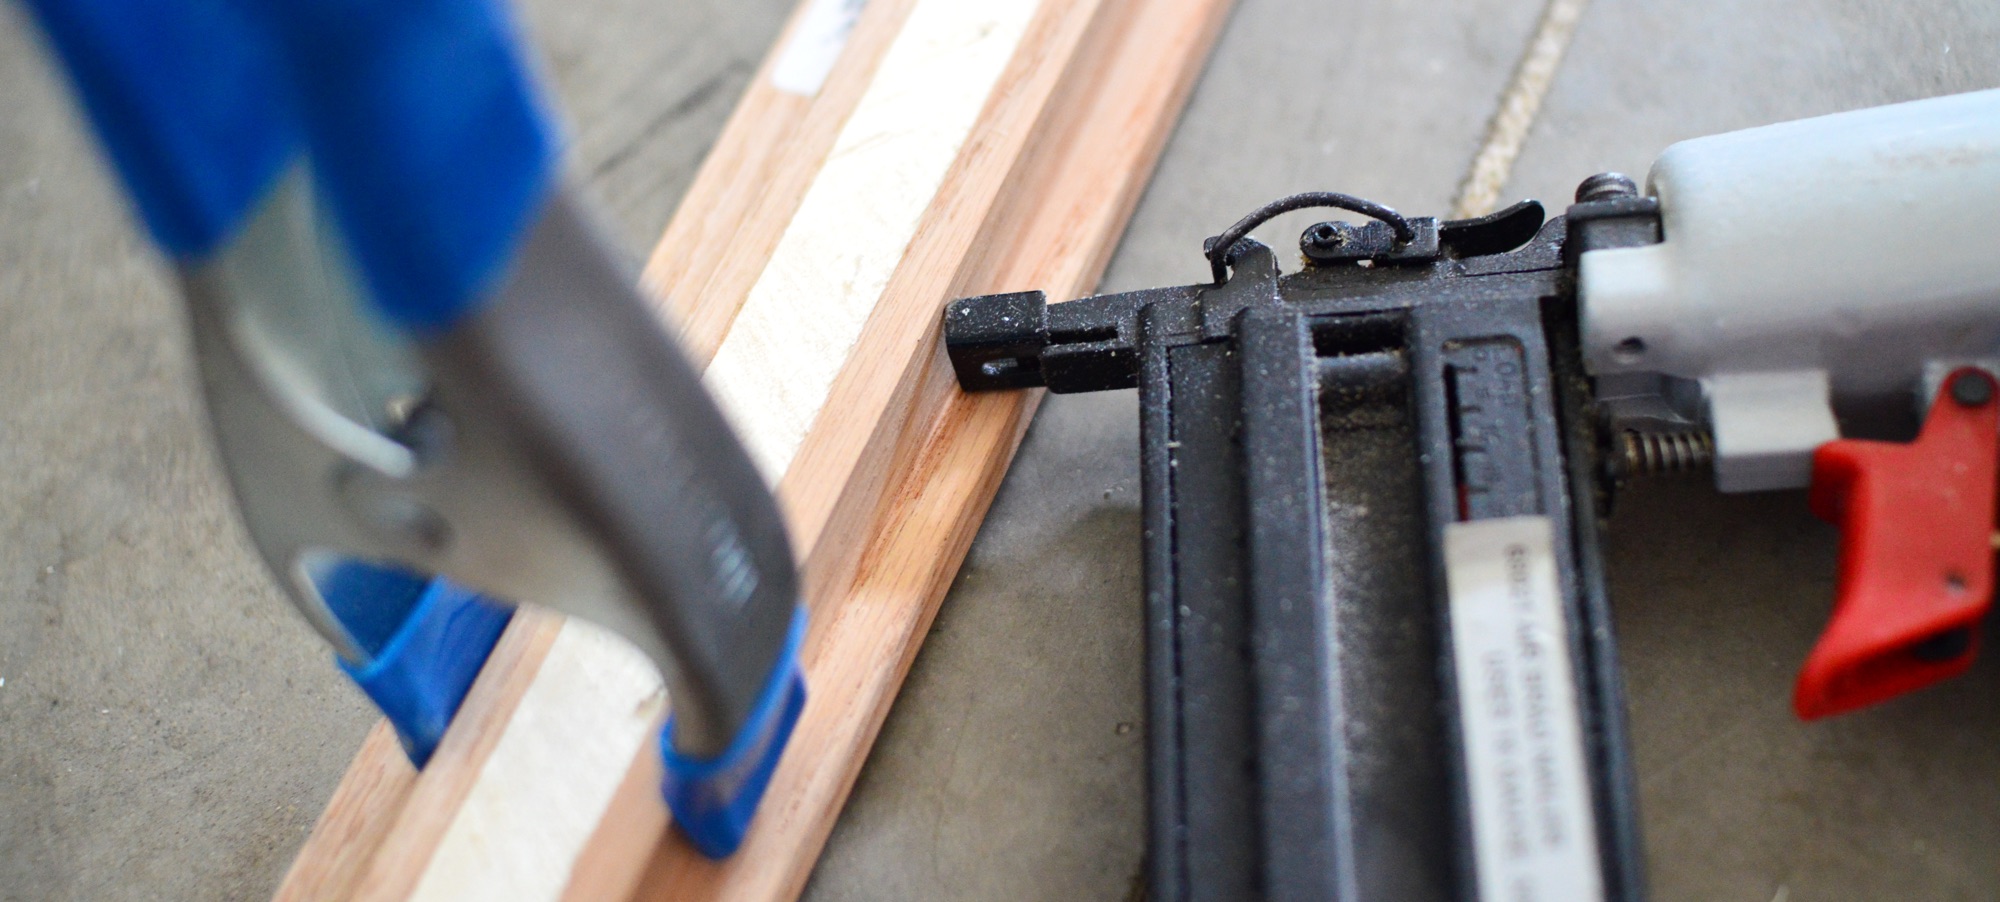
"If you don’t have a nail gun, seriously think about it if you plan to build a few things. They make complicated miter joints simple and make hitting your hand or missing the nail something that never happens. "
To attach the piece to the floating shelf I took shorter nails and drove them in at a 45-degree angle after placing glue in the junction. To handle the potential gaps at the end, I filled them with wood putty and sanded them smooth.
Conditioning, Staining, and Polyetherathane
One of the longest things to do on any project is sanding prep for the stain coat. I’ve ran into issues with aspen wood not taking stain well, so I’ve added the wood conditioner which seemed to help. I still got some light/dark spots that I wish didn’t happen. Let the conditioner set for 30 minutes, then coat the stain ontop. If you get really dark spots, you can take a clean rag and try to rub out some of the stain to lighten it up, but it won’t be perfect. The polyetherathane coat will darken the color more, so if you are afraid it might be too light, then it might be perfect. If you are staining this project a light maple or natural color, then the polyetherathane coat shouldn’t affect the color too much.
Done
Erratic Google App Engine 401 response when GOOGAPPUID set to x
Rattle Noise on 862D Solder Station

I'm a 35 year old UIUC Computer Engineer building mobile apps, websites and hardware integrations with an interest in 3D printing, biotechnology and Arduinos.